Phaser - Character, movement, camera?


I'm going with characters found in CraftPixFreePixelCitizen. I don't need anything fancy, so just basic animations like idle and walking are plenty enough for now..plus, this collection offers 4 different characters and goes great with the other collections.
Displaying a character
Through some trial and error, I identified two key steps: first, breaking the PNG image into individual sprites, and then uploading them into a texture packer. This tool generates both a PNG texture and a JSON file, which Phaser utilizes together to load the sprites and configure their animations seamlessly. For cutting the sprite, I went with the first option on Google: sprite-cutter.
It worked great with 'By number of columns / rows' cutting method.
After that, I've went with FreeTexPacker where I uploaded the 4 idle character sprite and it generated me PNG and JSON files I needed.

Next steps are:
- Preload the character textures
- Render the sprite
- Run the idle animation
- Refactor a bit
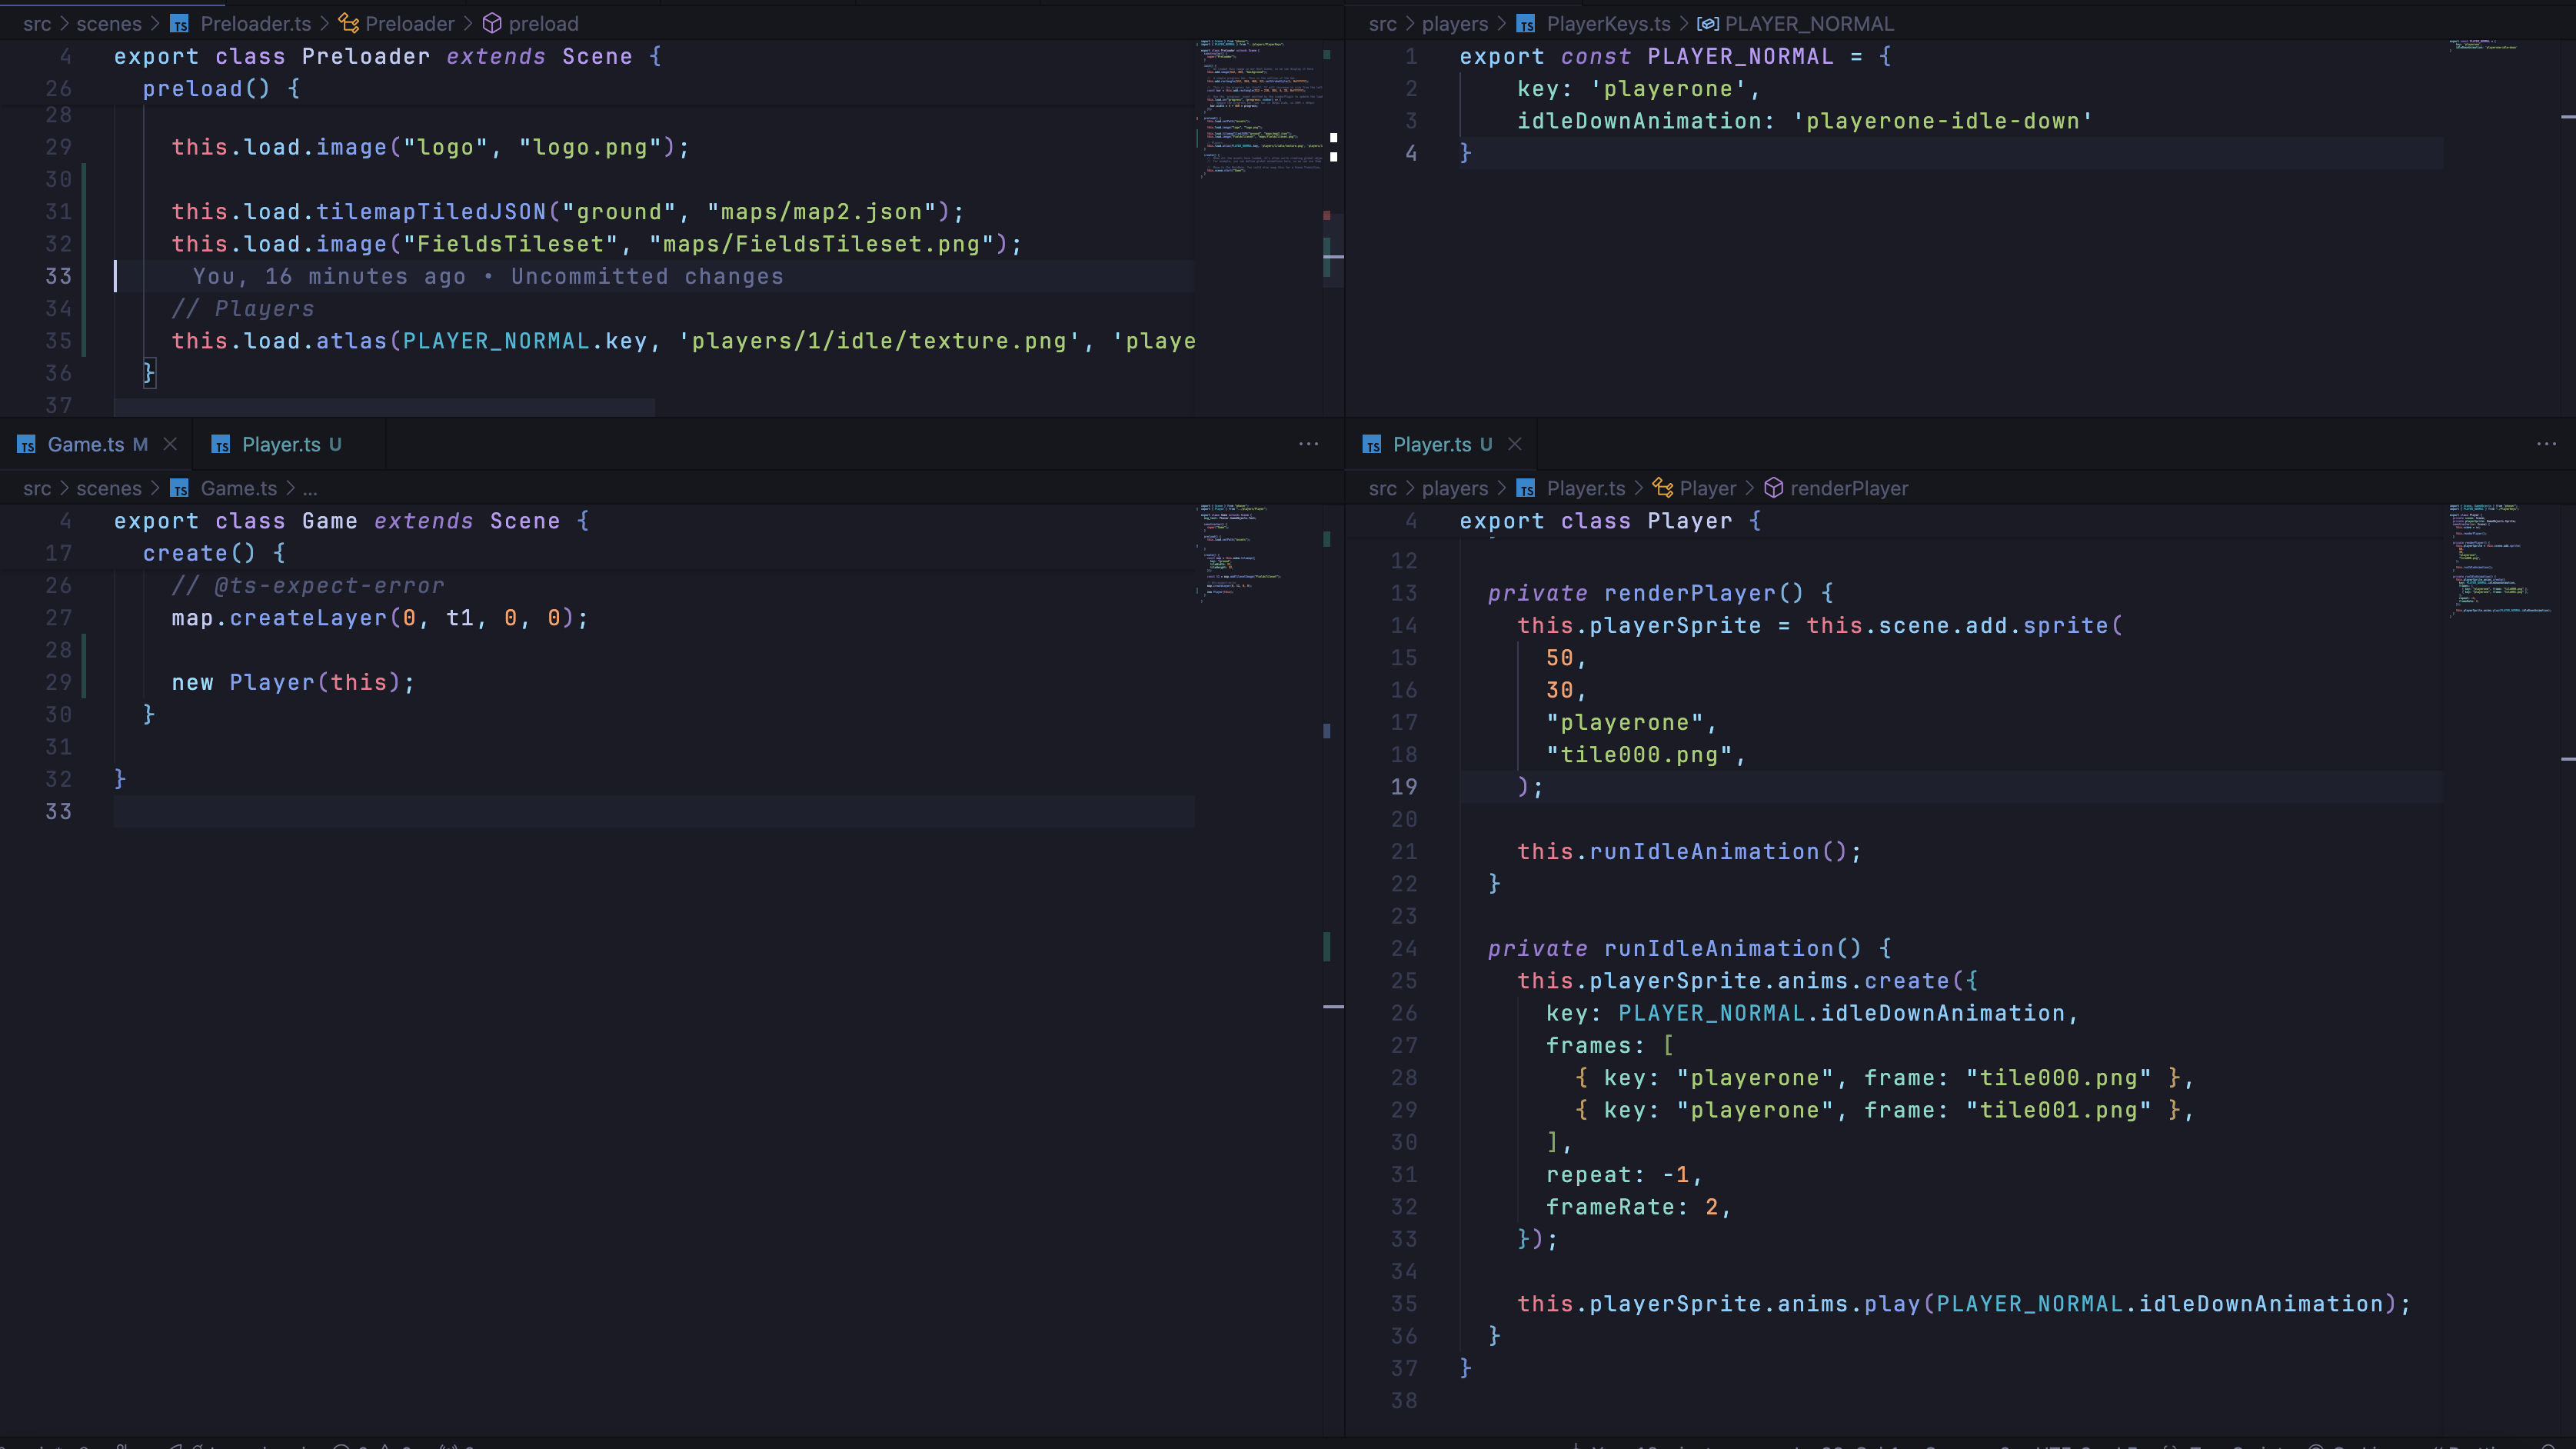
Preloading went the same as preloading the tileset.
this.load.atlas(PLAYER_NORMAL.key, 'players/1/idle/texture.png', 'players/1/idle/texture.json')
To render the character we have simply to put the initial x, y positions, the key of loaded texture and the frame name.
The frame name represents single character sprite(in the image we have 4 different sprites) and it can be found in the JSON we got from the Free Texture Packer.

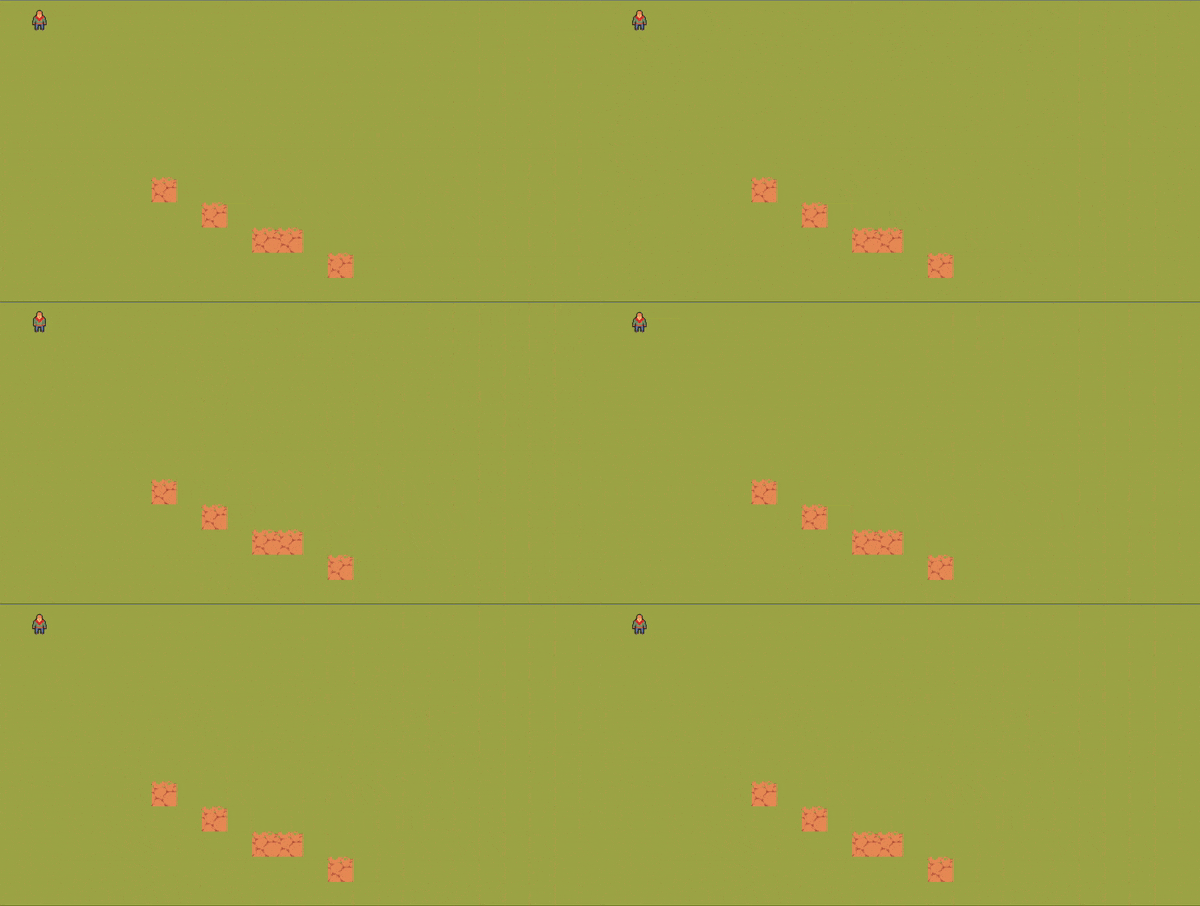
In the end, we have a simple character, just standing and idling on a fixed position..

Movement
Adding movement was easier then I imagined. Like in most of game engines, the update function in the main scene, which is called on every frame I would say, is calling the Player.move method which is responsible to actually move the player and run the animations.
speed is set at 200 just for testing purposes because I want to test the movement and collisions fast.
I check which key is pressed, update the velocity and run the animations.
Only after I wrote this, I realised..I don't have any sprites for left/right movement..but that's okay.
When, and if time comes to update the graphics, code is there, just have to add/change the sprite and animations.
public move(): void {

if (!this.cursors || !this.playerSprite) {

return;

}


const speed = 200;


if (this.cursors.down.isDown) {

this.playerSprite.anims.play(PLAYER_NORMAL.downAnimation, true);

this.playerSprite.setVelocityY(2 * speed);

} else if (this.cursors.up.isDown) {

this.playerSprite.anims.play(PLAYER_NORMAL.upAnimation, true);

this.playerSprite.setVelocityY(-2 * speed);

} else if (this.cursors.left.isDown) {

this.playerSprite.anims.play(PLAYER_NORMAL.upAnimation, true);

this.playerSprite.setVelocityX(-2 * speed);

} else if (this.cursors.right.isDown) {

this.playerSprite.anims.play(PLAYER_NORMAL.upAnimation, true);

this.playerSprite.setVelocityX(2 * speed);

} else {

this.playerSprite.setVelocityY(0);

this.playerSprite.setVelocityX(0);

this.playerSprite.anims.play(PLAYER_NORMAL.idleDownAnimation, true);

}

}
Camera
And to make the camera follow the player, this little piece of code is responsible.
this.scene.cameras.main.startFollow(this.playerSprite, true);
Collision
I've added couple of layers to the map, fence and grass layer. Grass layer is there for effect while fence layer is used as collision, to prevent the player going through it. I've had a tricky time setting up the collision as the docs do not really give you a straight forward way on how to do it and youtube videos I found are for older versions..and well, they give you a hint on how to do it, but you have to figure out on your own..so that's what I did.
- In Tiled, I had to modify the fence tileset and add a custom boolean property named 'collides'
- Updated Preloader.ts to preload necessary files
this.load.tilemapTiledJSON("ground", "maps/map2.json");

this.load.image("FieldsTileset", "maps/FieldsTileset.png");

this.load.image("fence", "maps/fence.png");

this.load.image("grass", "maps/grass.png");
- In Game.ts, add tileset images
const t2 = map.addTilesetImage("fence");

const t3 = map.addTilesetImage("grass");
- I utilized the t2 and t3 variables to add an additional layer above the ground. Since the fence is a collidable object, I needed a way to determine which tiles are collidable and which are not. Fortunately, I can now leverage the collides boolean property from Tiled to handle this effectively.
const fenceLayer = map
.createLayer("fence", t2, 0, 0)
.setCollisionByProperty(
{
collides: true,
},
true,
);


map
.createLayer("grass", t3, 0, 0)
- To actually prevent the user from going over the fence layer, we have to use the physics to add the collider
this.physics.add.collider(this.player.getSprite(), fenceLayer);
You might encounter an error where the browser complains that "physics" is undefined. If that happens, you'll need to update the Phaser configuration, which is most likely located in your main.ts file.
physics: {
default: 'arcade',
arcade: {
debug: true
}
}
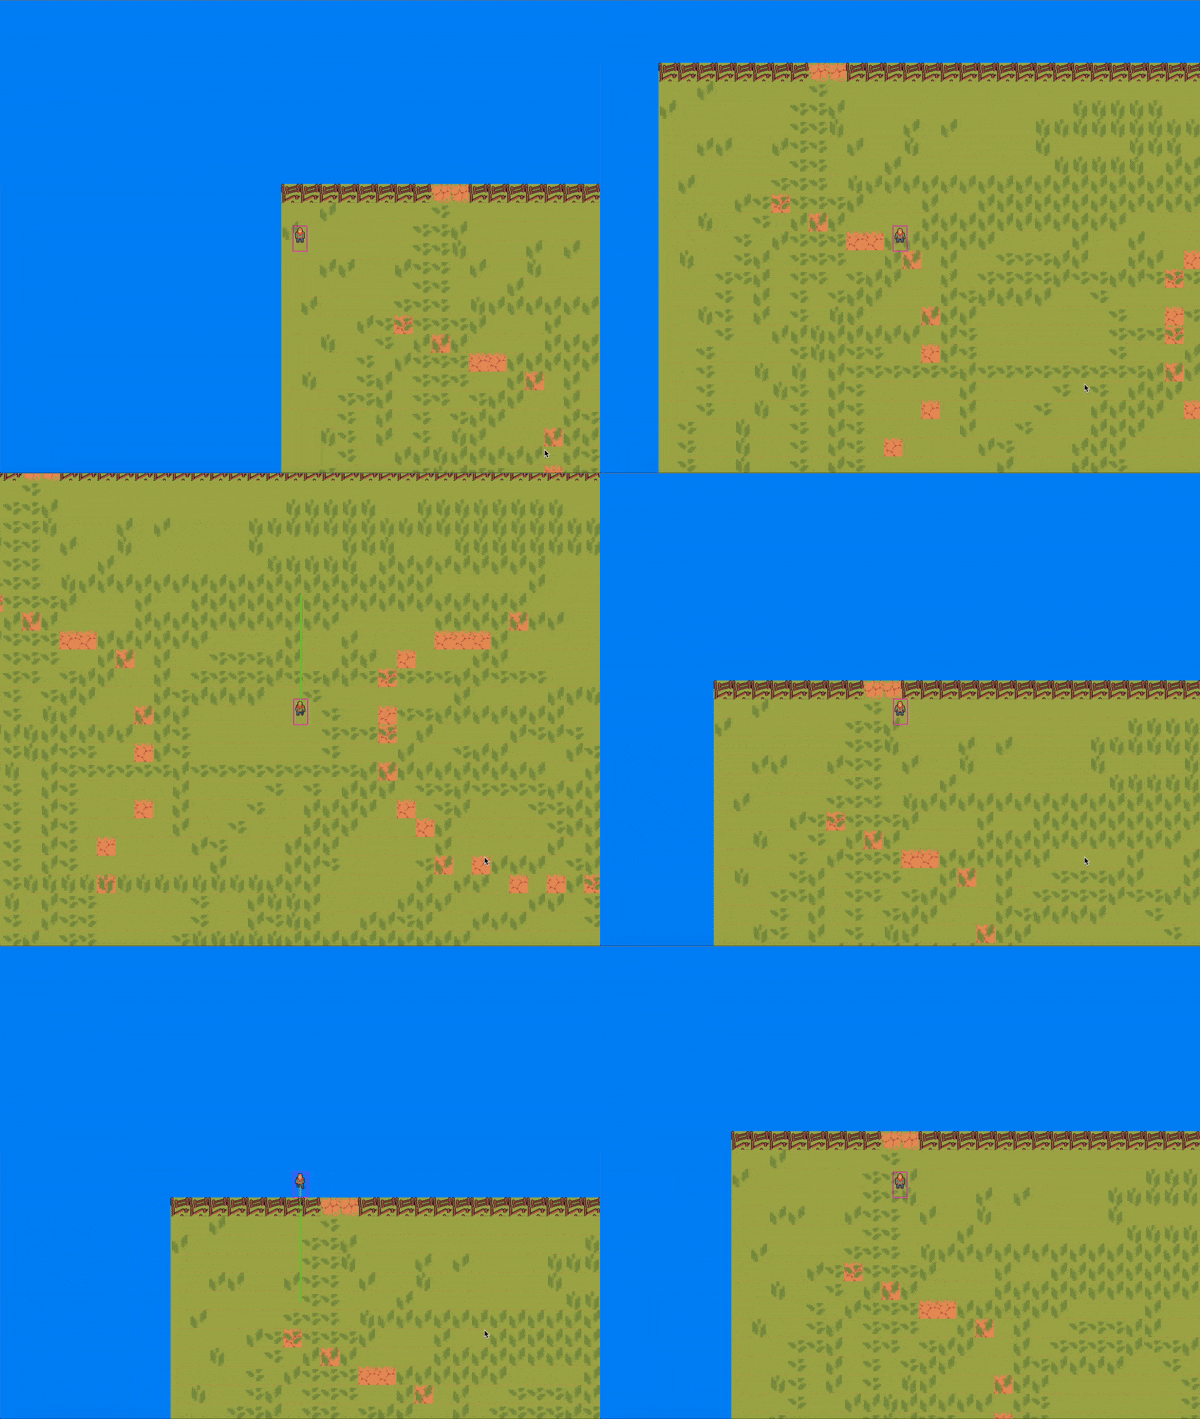
When that's done, I got this game behaviour.

So far, things are shaping up pretty well. The foundation is in place, and I've worked through some key challenges. I’m confident the next steps will be smoother. Up next: implementing object interactions and enhancing the map’s functionality to make it more practical and engaging.